Sometimes hardware is needed
So the raid card in my old trustworthy Mac Pro was dying. On top of that, one have for years been feeling that the raid card is not really helping. Instead it is probably the weakest link in the desktop system I have at home. After all, it is from 2008…
Anyway, I did look at various postings other people have made about the raid card. What surprises me is how naive some people are, and specifically how ignorant some people are that respond to questions. It seems many questions come from people that have not even been thinking about the issues with removal of a raid card, and they definitely have not tried to remove one themselves.
First of all, the data. The Apple Raid card can convert SAS to SATA, but without the raid card you can only have SATA drives. So if you had SAS, forget using them. Further, if you had raid volumes across the drives, that data will be lost. You will be asked to reinitialize the drives when you boot the machine again. I had one disk (the boot disk actually) that was not part of a raid volume, but run through the raid card. That actually was discovered when I booted the mac again, but even though that was the case for me, do not rely on being able to read data from the drives when you are done removing the raid card. All Intel based macs can boot from external USB and FireWire volumes. I bought a FireWire drive, connected it to the FireWire 800 connection to my mac and used CarbonCopyCloner to mirror the internal disks before I started.
One note about this btw. It seems the external volumes if they do not spin up fast enough will be mounted read-only. You detect this by using the mount command. File systems mounted read only is marked as such. You fix this by unmounting and mounting them like this (in the Terminal):
# diskutil unmount /dev/disk4s4
# diskutil mount /dev/disk4s4
Another thing I discovered is that of course it is good if you create a new admin on the box, and log in as it instead as of yourself. That way you know your own files are not touched. Then as this new user, name the new partitions on the external disk foo-new and bar-new for the old foo and bar file systems on the raid card. Run CarbonCopyCloner. Then rename the disks foo to foo-old and foo-new to foo (etc) and reboot on the external file system. Then most (as many as possible) references in the file system will still be correct. And you know things works the way you want.
If your mac does not boot on the external disk. Stop! Do not continue!
So, how did I do the actual hardware ripping of the raid card? Basically, you have to take your Mac Pro apart. And I mean it. In pieces. And it is easy to start with, but then of course some issues are very difficult.
Follow this description. In detail. Yes, I mean it. It is from Apple on how to install such a card, but ignore the installpart. It tells you how to take your Mac Pro apart. I have of course a quad-core Mac Pro which is, as you will see, the most problematic construction. I guess they discovered it, and made a better construction for the 8-core.
In step 2, note that the latch is to be pulled up. It is not very natural to reach behind the graphics card from above, and pull a level up, but yes, that is how you should do it. Also remember this when you plug the graphics card in again. You have to lift the level, yes, from above. Remove the cable.
In step 5-1 (for quad core), note that the upper memory board have the memory slots facing down. Not up as on the picture from Apple. Do not be confused. Just pull them straight out.
In step 5-2, there are actually four screws, not two. And the screws have small springs around them. They will not “jump out”, but it feels funny when you rotate the screwdriver. That btw have to be quite long. My hands are possible to stick into where the memory boards where, but not all hands can. My memory cage do have a horizontal bar across the opening which makes it very hard to reach inside it. You have to get such small hands before starting…it helps. The screws should be removed though. Completely. Otherwise it will be hard to move the box to the right. Which you must do.
Step 5-3, the trickiest part, removing the screws at the bottom of the memory cage. The heads are of very soft metal, and the instructions say Don’t let the screwdriver slip out of the screw head as you turn it. No kidding! If you slip once, and I mean once, you loose the head, and you have to use hardware to remove the screw. Further, as there is an edge of the memory cage, you will not reach the head of the screw with other tools. Because of this, first cut the edge of the memory cage, then remove the head of the screw, and then use brute force. Be careful with the fan to the right. It is plastic, but snaps into place, so try to first un-snap it so when you bend with whatever tools you have, you do not destroy the fan.
Regarding the construction, if you have at least managed to remove one of the two screws, and then removed the four screws that connect the memory cage to the motherboard, then you can use force. The screws going downwards do only connect to metal holders that are soldered to the main computer box. They are not connected to the motherboard.
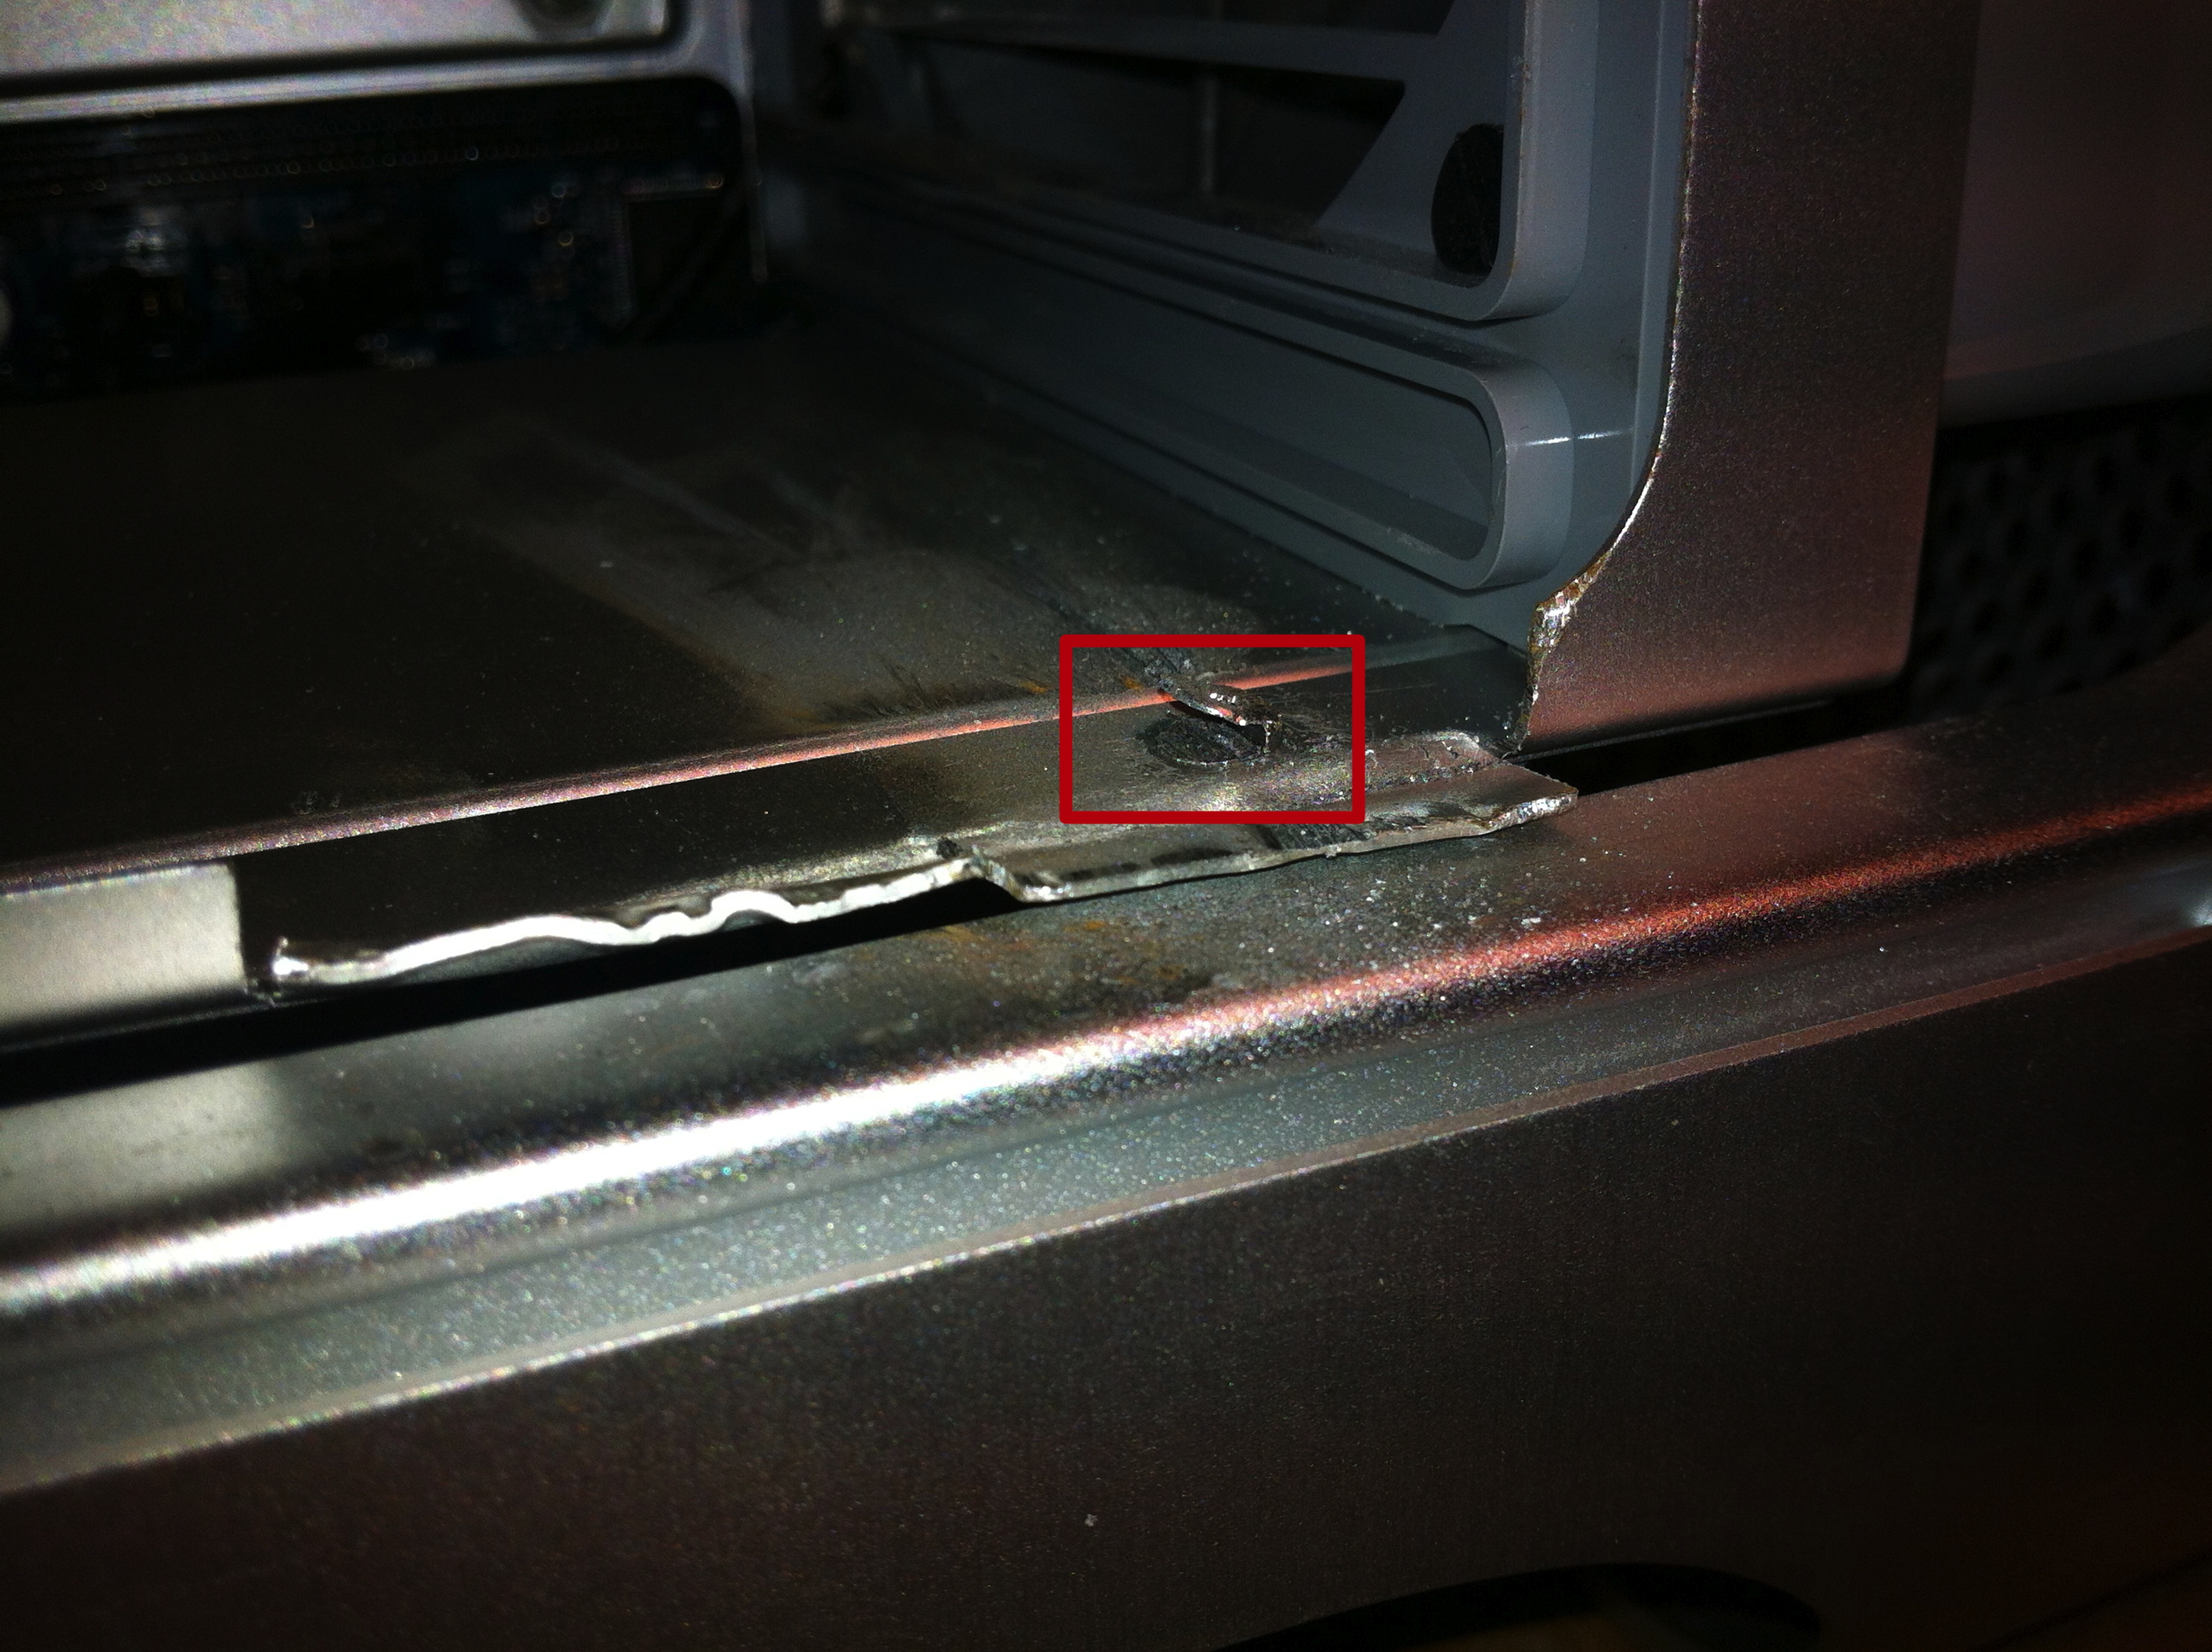
The goal with step 5-4 and 5-5 is to create a small gap that makes it possible to turn the CPU cover towards you and to the right. This because it snaps into place, so you unsnap it. Similar to as if it was magnetic. Maybe it is. I did not check carefully enough.
Then in step 6-1 you remove the screws to the fan module. I of course had two screws although I have a quad core. So look carefully for both. The one at the top is black, and the one at the bottom was blank. Same crappy soft material as the ones that kept the memory box in place.
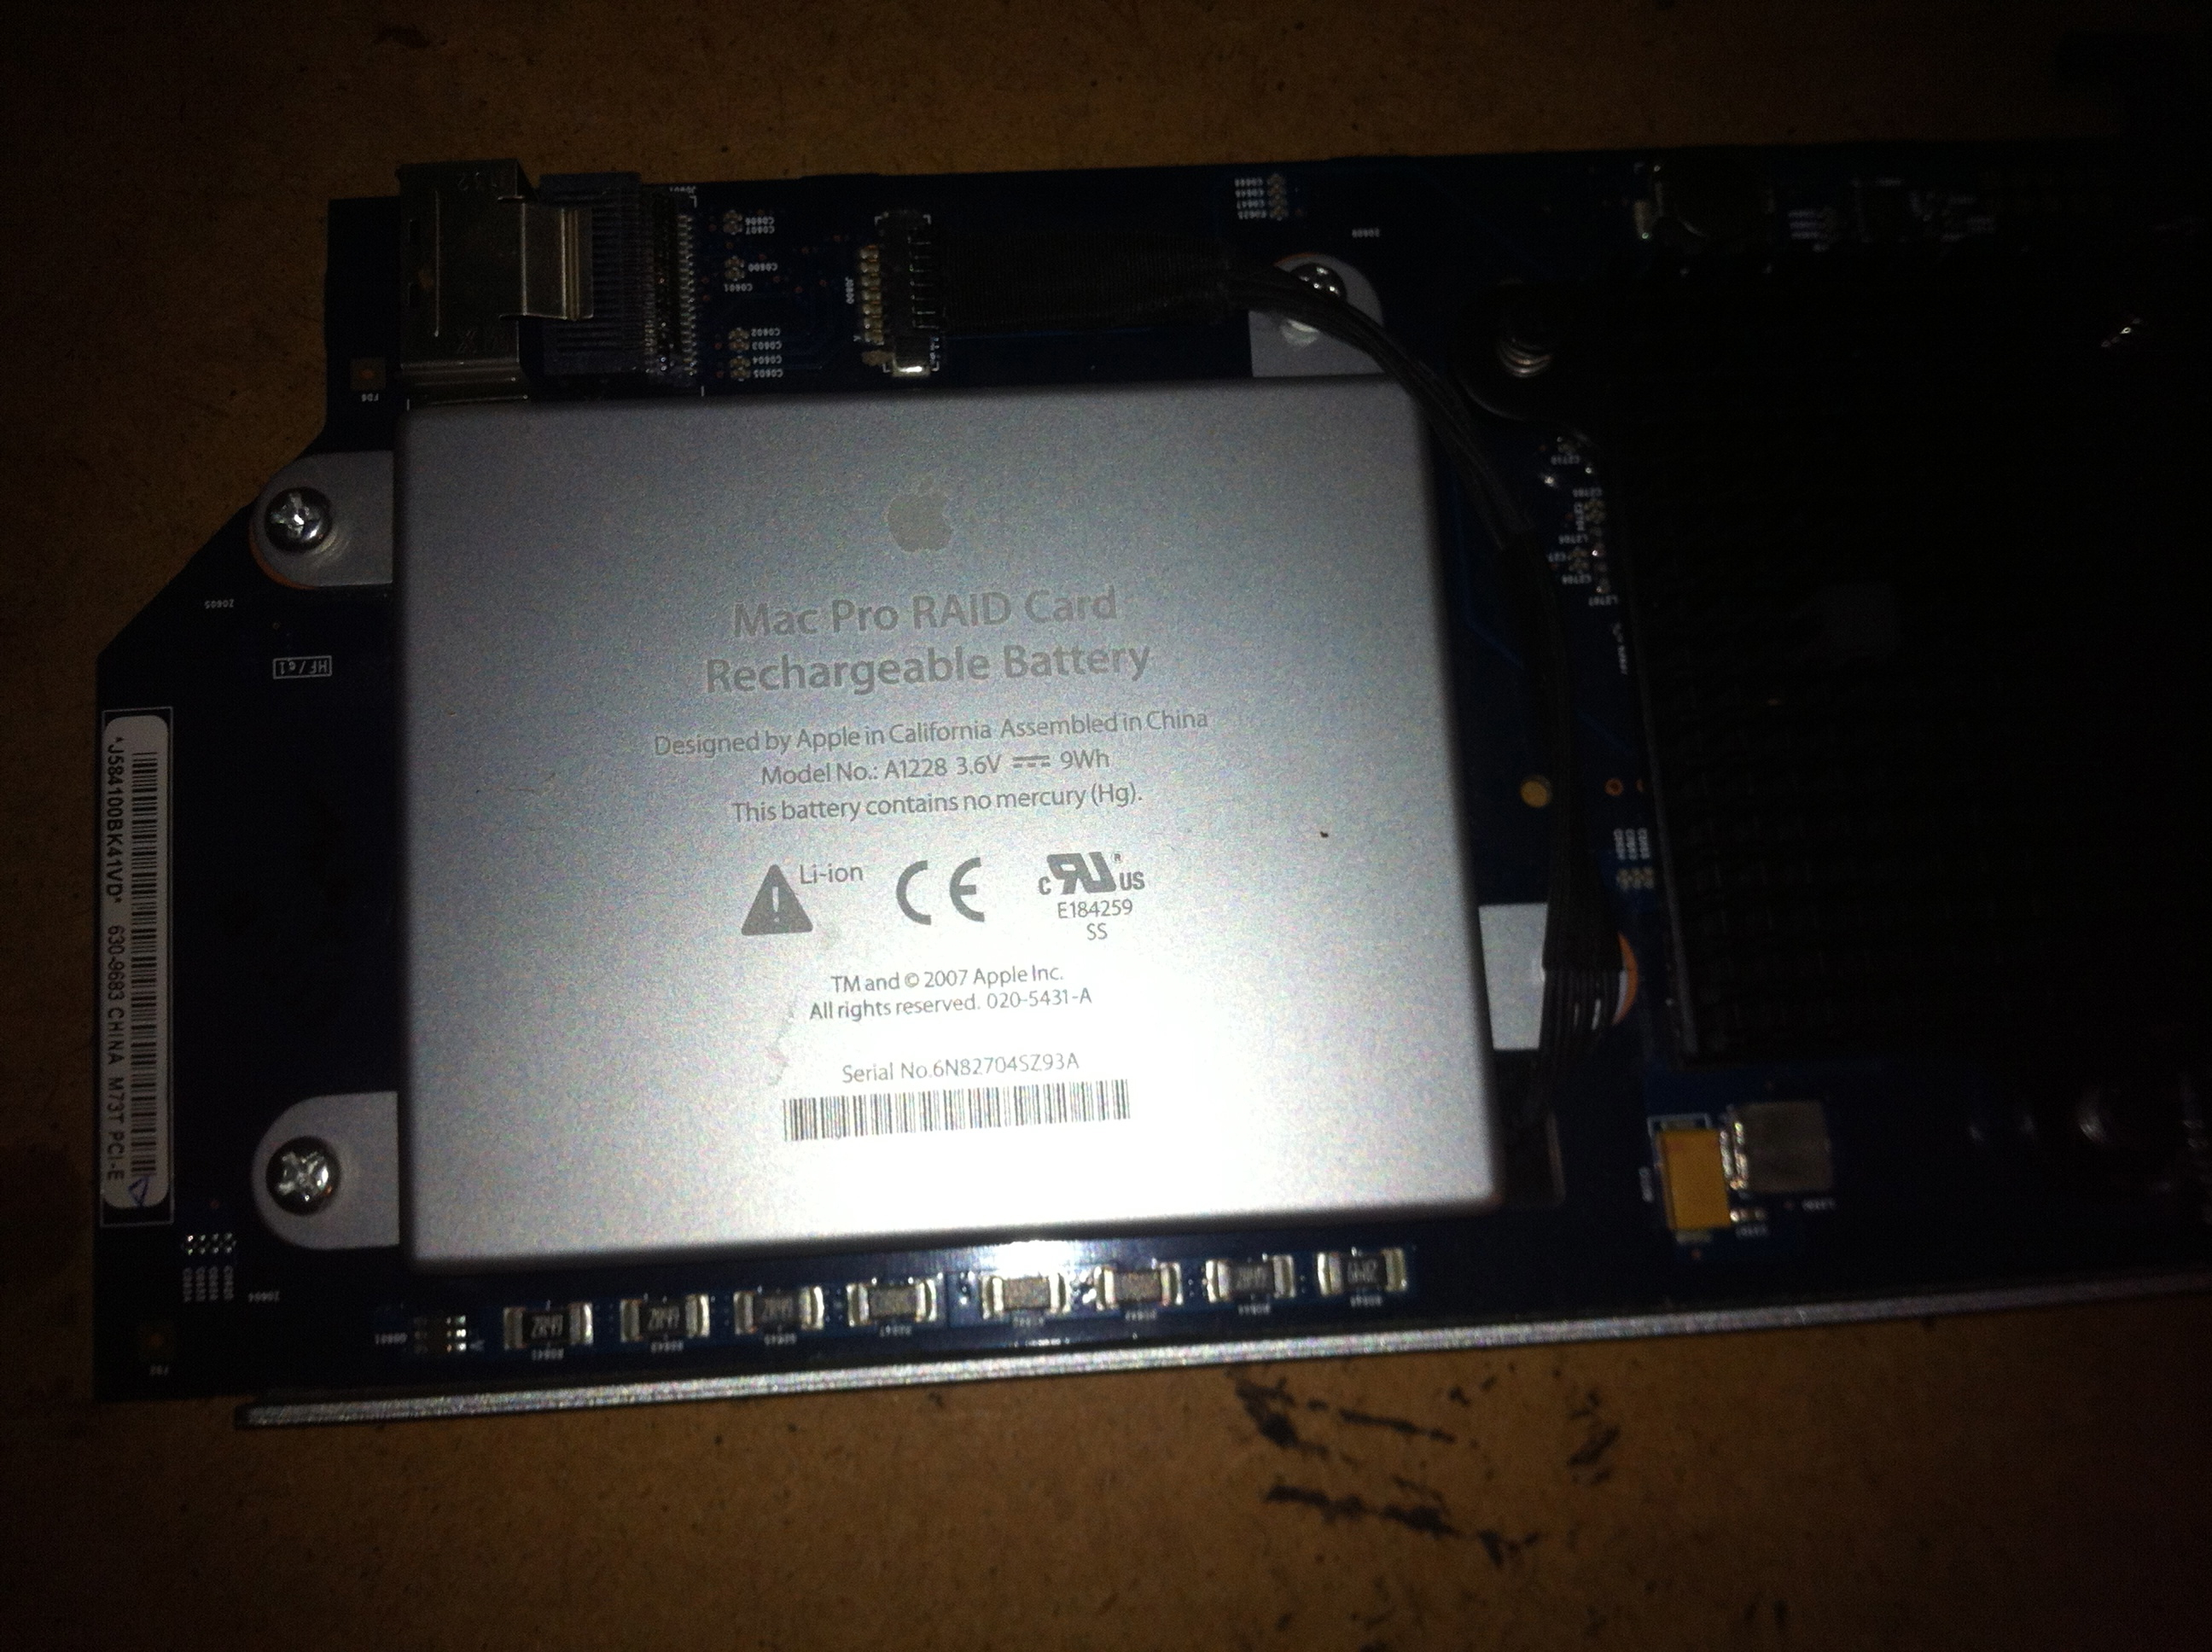
After removing those screws, it should be possible to remove the fan module and remove the connector from the raid card. You see in step 9-1 where the cable is connected and what the lock looks like.
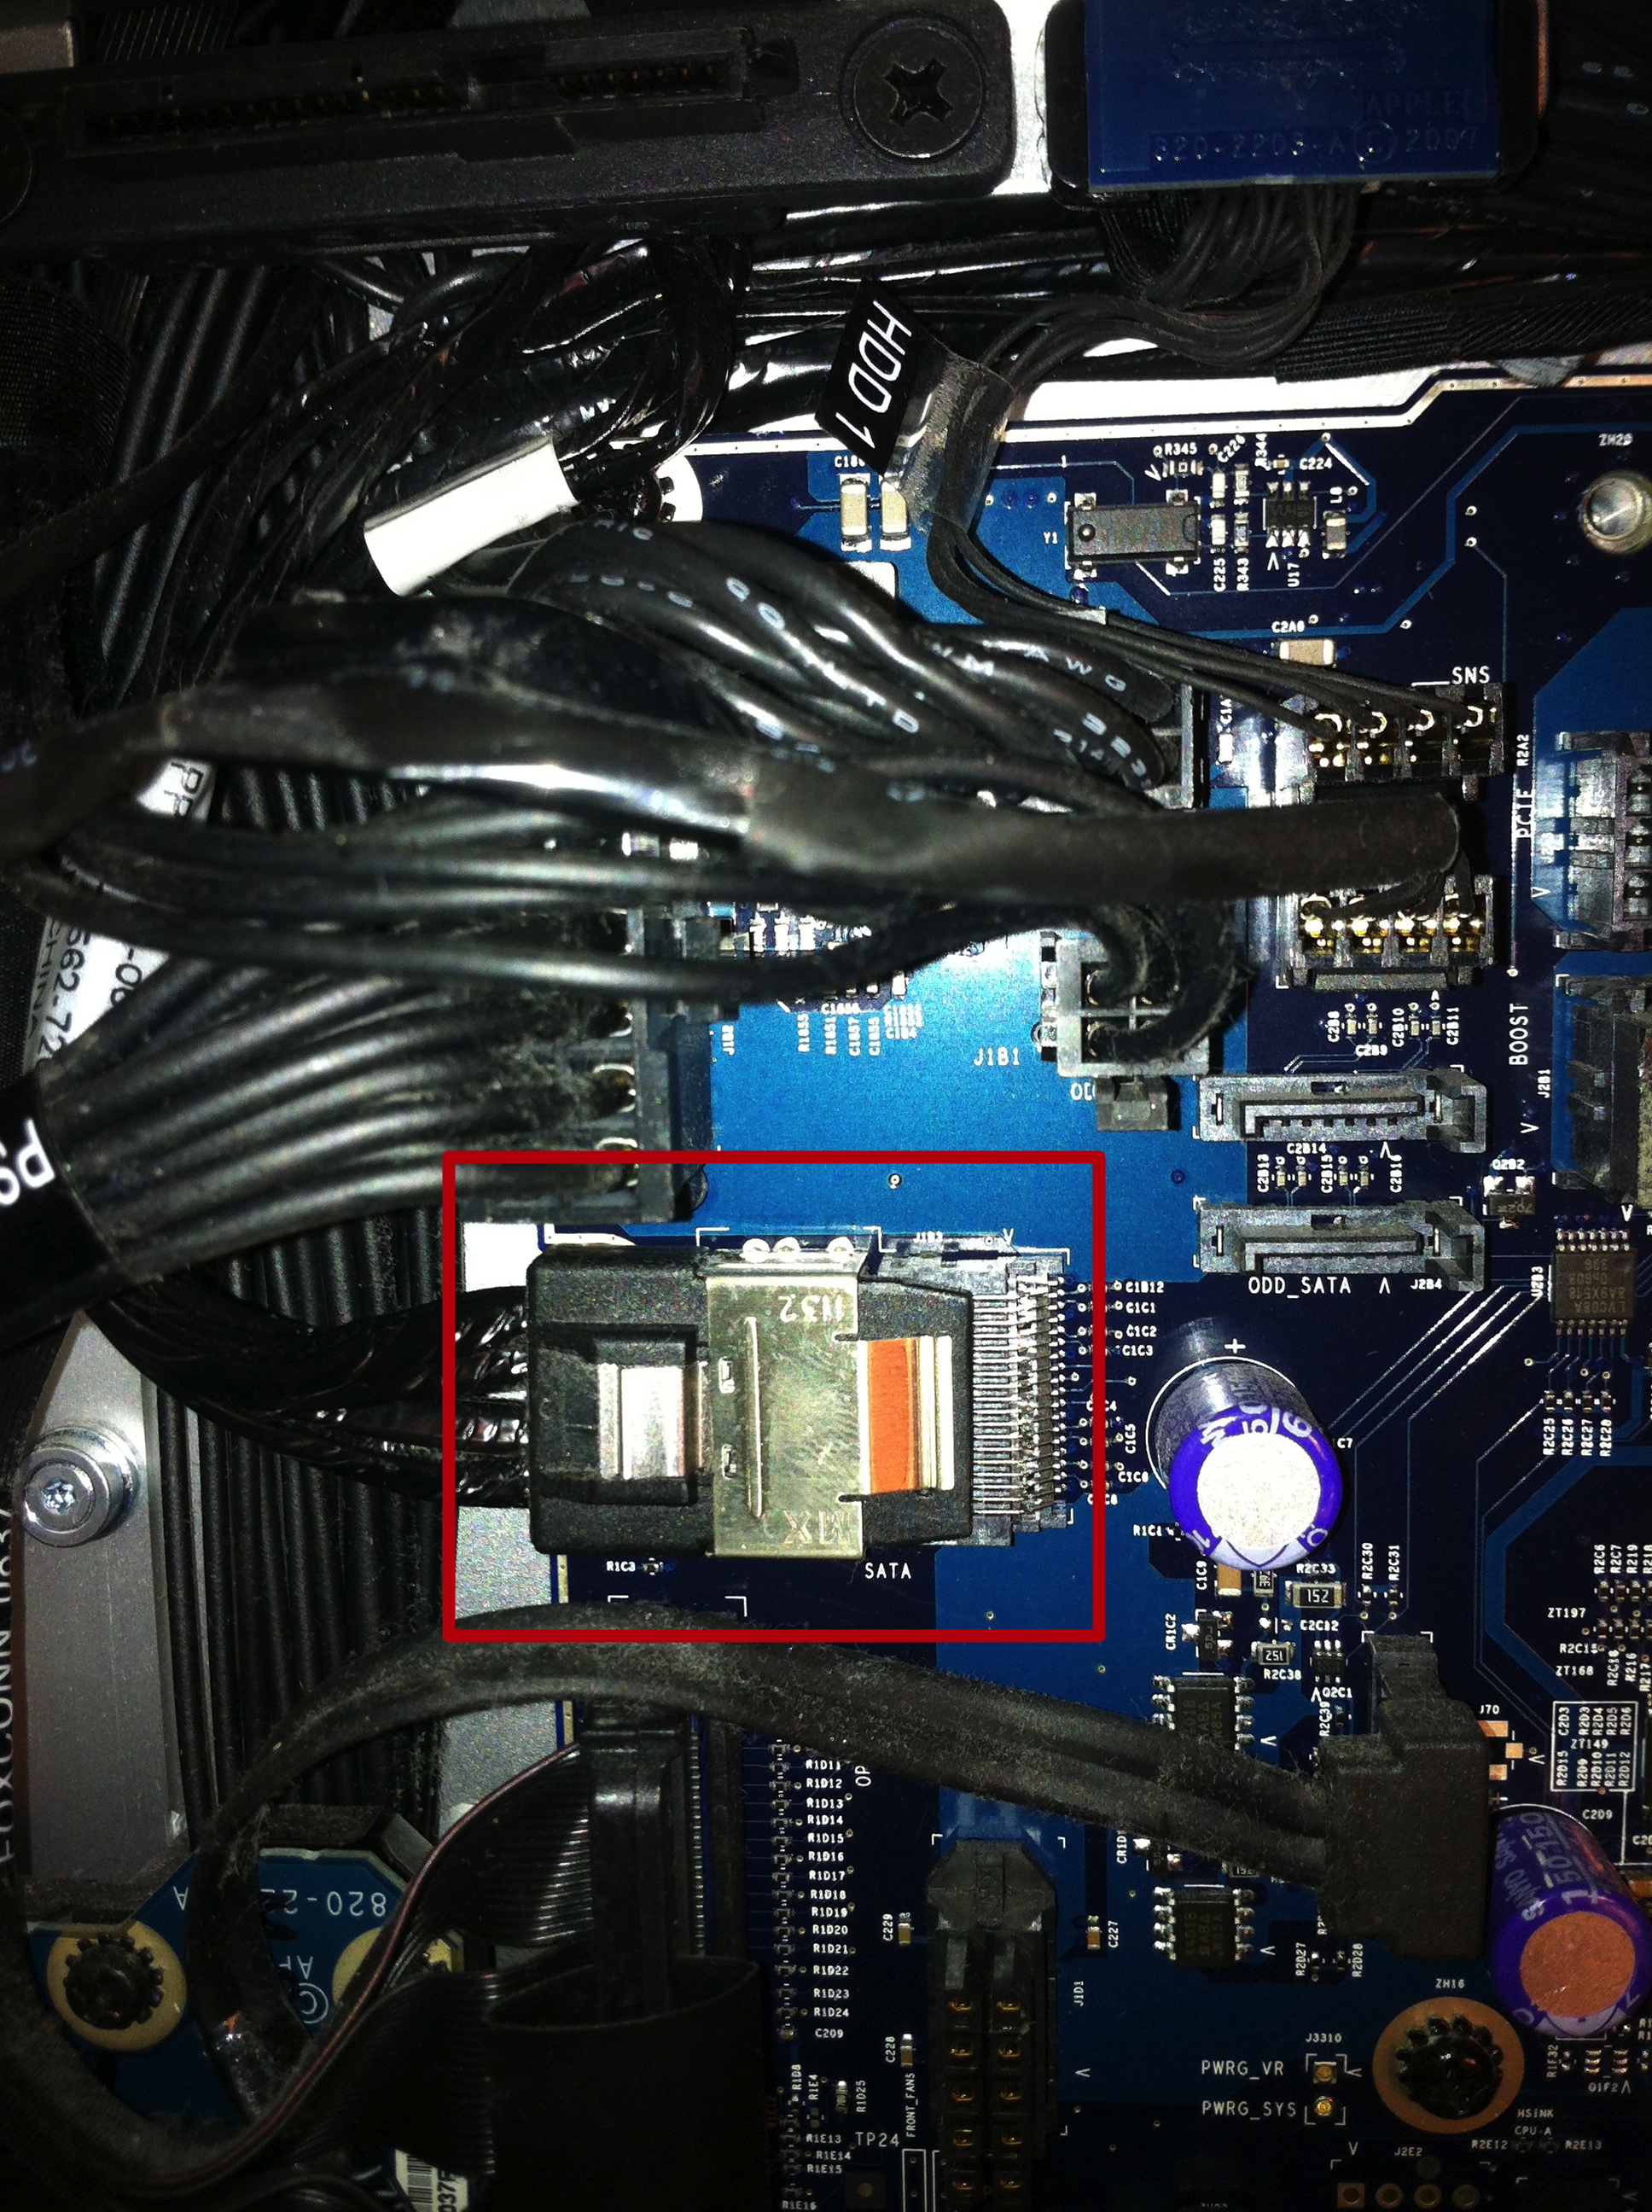
In step 7-1, and in the picture to the right, you see where the cable that you removed from the raid card is to be inserted on the motherboard. The iPass cable connection is within the red square after being inserted where it should be. Note the larger connector just above (slightly to the left) of the iPass cable connector. You just have to remove it, move the iPass cable under it. Connect the iPass cable and then reconnect the larger connector again. The iPass connector cable is short enough already so that it is definitely difficult to get it in place. But it must go below the larger connector cable. This is also noted in step 7-2.
Then put everything back in place again.
Yes, my mac booted on first try if you where thinking of it.